Skip to content

Sealant joints built to last, not touched up

Window Caulking and Frame Sealing in Kitchener-Waterloo

Window caulking looks simple, but a perimeter joint that holds up for well over a decade is designed and installed, not just squeezed on. GTS Windows & Doors has been caulking and sealing window and door openings across Kitchener-Waterloo since 1986, on detached homes, townhouse complexes, apartment buildings and commercial properties. Our crews are licensed, insured and WSIB covered for work at height.

Failed caulking is one of the most common ways water gets into the wall around a window, and a frequent source of drafts at the trim. Most of the failures we remove come down to the wrong product, a joint with no backer rod, or sealant applied over dirt, old caulk or a damp surface. Cheap acrylic caulk from a quick touch-up can crack open within a few seasons.

This page covers the fixed joints around the window: where the frame meets siding, brick or stone outside, and where it meets drywall or trim inside. Worn seals on the moving sash are a different fix, covered on our window weatherstripping page, and both sit within our wider window repair service. If you are not sure which one is behind your draft or leak, we check both on the same visit and quote only what the opening actually needs.
Signs Your Window Caulking Has Failed

How the old sealant failed tells us what went wrong. Adhesive failure, where the bead peels cleanly off one side, usually points to poor surface prep or a missing primer.

Cohesive failure, where the bead tears down the middle, usually means the joint was too thin, too deep, or bonded on three sides. Both are avoidable with the right joint design.

  • Cracks or splits running along the bead, usually where it has been stretched
  • Gaps at one edge, where the sealant has pulled away from the brick, siding or frame
  • A shrunken, hard or chalky bead that no longer gives when you press it
  • Water stains on drywall below the window corners, or on the interior sill
  • Dark streaks or mould along the joint, a sign that water is sitting there
  • Cold air at the trim rather than around the moving sash
  • Soft wood at the bottom of the brickmould or trim beside the joint

Choosing the Right Sealant and Joint

Where a joint is too shallow for backer rod, bond-breaker tape does the same job at the back of the joint. Very narrow cracks and very wide gaps both need a different approach, such as widening the joint or closing the gap with trim first, because a sealant can only stretch so far.

Silicone and Hybrid Sealants

For exterior perimeter joints we use elastomeric sealants that meet ASTM C920, the standard for joints that must stretch and compress through the seasons. Silicone offers excellent UV resistance and movement capability and suits aluminum, vinyl and glass.

Hybrid polymer sealants bond well to masonry, wood and fibre cement, and most can be painted to match trim. Acrylic latex caulk stays indoors, on interior trim joints where movement is small.

Backer Rod and Joint Depth

Closed-cell backer rod goes into the gap first, sized slightly larger than the joint so it stays put. It sets the depth of the bead, typically about half the joint width, and gives the sealant an hourglass shape that stretches evenly.

It also prevents three-sided adhesion. Sealant stuck to the back of the joint as well as both sides cannot stretch, so it tears during the first hard cold snap.

Exterior vs Interior Sealing

The two sides of a window opening do different jobs. The exterior joint is the rain barrier that sheds water off the face of the wall, while the interior seal is the air barrier that stops warm, moist house air from leaking into the wall cavity and condensing there.

Exterior jointInterior seal
Main jobKeep rain and meltwater outStop air leakage and drafts
Typical materialsSilicone or hybrid sealant over backer rodLow-expansion foam in the gap, sealant at the trim
What must stay openWeep holes and drainage gaps under flashingNothing, the air seal should be continuous
Signs of failureWater stains, soft wood, staining on brickCold air at the trim, frost on the interior casing

Diagnosing Which Side Has Failed

A window leaking water usually needs exterior work, and a window leaking air at the trim usually needs interior work. Sealing the inside hard while the outside still leaks just traps water in the wall, so we check both sides before we start.

On leaks that are hard to pin down, we water test one section of the joint at a time from outside, starting low and working up. That shows whether the water is entering at the perimeter joint or somewhere a sealant cannot fix.

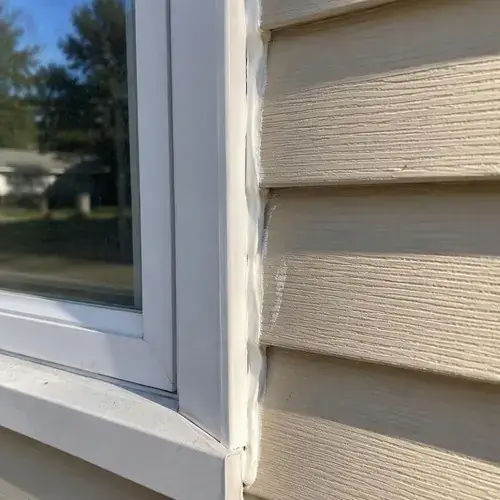
Close-up of white window frame corner with fresh caulk bead sealing the joint against

Sealing Brick, Stone and Siding Openings

Old sealant always comes out first. New caulk laid over old caulk bonds only to the failing layer underneath, which is why so many quick touch-ups fail within a year. After that, prep depends on what the window sits in:

  • Brick: porous and often dusty, so old sealant is cut and wire-brushed out, the joint is blown clean and primed where the sealant maker calls for it
  • Stone: irregular faces make the joint width vary, so backer rod size changes along the joint and tooling takes more care
  • Vinyl siding: sealant goes to the J-channel or trim, never locking the siding panels, which need to move freely
  • Wood and fibre cement siding: sealant bonds to primed and painted surfaces, and paintable hybrids let the joint match the trim colour
  • Stucco and EIFS: we follow the cladding maker's joint details, which call for a proper sealant joint rather than caulk buttered onto the finish
  • Aluminum capping: sealant runs along the sides and top, while the bottom edge is left free to drain
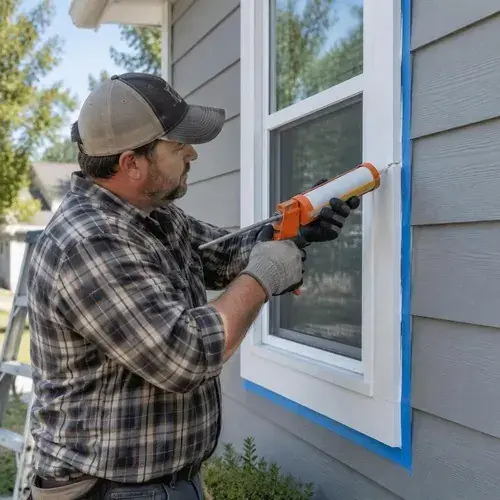
Worker in plaid shirt applying caulk with a gun around a white window frame

Best Time of Year to Recaulk

Late spring through early fall is ideal, with dry surfaces and moderate temperatures. Many standard sealants call for application above roughly 4 to 5°C, and joints sealed at a temperature extreme start life already stretched or squeezed.

Winter caulking is possible with the right product. Some sealants are rated for cold application, OSI Quad Max for example to about minus 18°C, provided the surface is dry and free of frost and ice and the tubes are stored warm before use.

For urgent winter leaks, we can seal with a cold-rated product and review the joint in spring if conditions on the day were marginal.

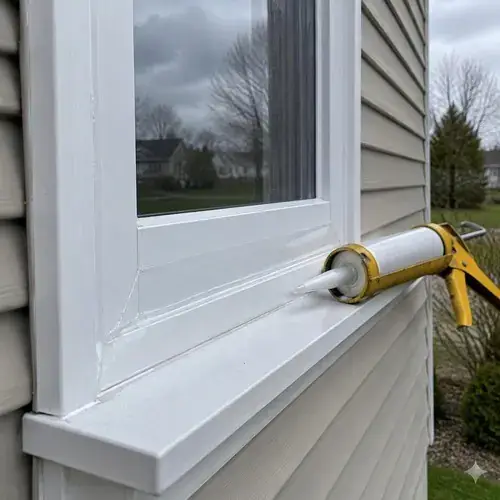
Caulking gun laid on the sill of a white vinyl window with fresh sealant

Caulking Programs for Property Managers

On townhouse complexes, apartment buildings and commercial properties, sealant fails on a schedule, and replacing it on a schedule costs less than chasing leaks unit by unit. We work with property managers, condominium boards and general contractors to inspect, prioritize and reseal elevations over one season or several.

  • Elevation-by-elevation condition survey with photos
  • A priority list, usually starting with the south and west faces that take the most sun
  • Lift or ladder access planned around residents, parking and landscaping
  • Resident notices and work scheduled around occupied units
  • A written record of what was sealed, when, and with which product
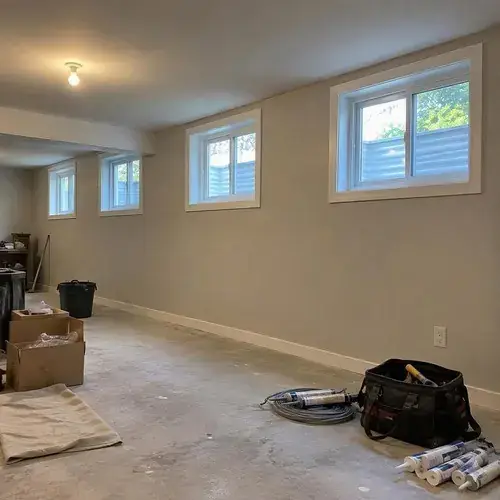
Unfinished basement with small white-framed windows along wall

Commercial Window Perimeters

The same crews seal storefront and commercial window perimeters, where joints are often wider and exposed to more movement. For new commercial windows, entrances and larger glazing work, see our commercial windows and doors services.

What Window Caulking Costs

These are typical 2026 ranges for Waterloo Region, and a minimum service charge applies to small jobs. Rot or damage found behind old caulking is quoted separately, with repairs covered on our wood window frame repair page.

If you are weighing sealing against larger work, our window and door cost guide lays out replacement pricing for comparison.

JobTypical price (2026)What moves the price
Single window, exterior reseal$120 to $300Window size, height, old sealant removal
Whole house exterior, 15 to 25 openings$1,800 to $4,500Number of openings, storeys, cladding type
Interior trim and perimeter air seal$80 to $200 per windowTrim removal, amount of foam needed
Multi-unit and commercial$6 to $14 per linear footAccess equipment, height, occupied units, scheduling

Window Caulking FAQs

How often should windows be recaulked?

Inspect exterior joints every year or two, and expect to redo them roughly every 10 to 20 years when a quality silicone or hybrid sealant was installed over backer rod. Cheap acrylic caulk used outdoors may need redoing within a few years. South and west elevations usually fail first.

Can windows be caulked in winter?

Yes, with a cold-rated sealant and dry, frost-free surfaces. Several silicones and hybrids are rated for application below freezing, but standard latex caulk is not. For winter leaks we often seal right away and check the joint again in spring.

Should I caulk over weep holes?

No. Weep holes are the drainage exits for water that collects inside the window's sill chambers, and sealing them traps that water until it overflows into the wall or the room. If a window leaks near the weeps, the cause is usually a blocked weep or a failed corner seal, which our vinyl window repair team can diagnose.

Will caulking stop my window from leaking?

Only if the water is getting in at the perimeter joint between the window and the wall. Leaks through failed frame corners, blocked drainage, a missing sill pan or poor flashing above the window need a different fix. We water test to find the entry point before we seal anything.

Book Window Caulking

Tell us how many windows or openings need sealing, what the cladding is, and whether you need a single visit or a building program. We will inspect the joints and send you a written quote.

Call or text226-806-0597
Monday to Saturday: 7:00am to 9:00pm
Sunday: 9:00am to 5:00pm
47 Bridge Street East, Kitchener, ON N2K 1J7
Call 226-806-0597Quote